Saturday, July 23, 2011

Wall Picture Frame Collage-finished

I was finally able to finish all of my frames today. You can see the how I started HERE.
I had my photos all printed, and got to work filling the frames.

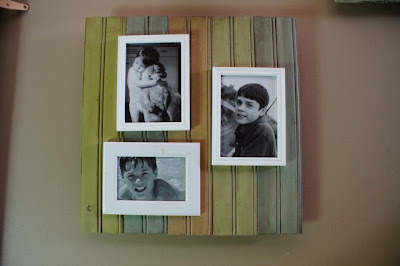
 Once I was happy with where they would all be placed I had to attach the frames to the painted boards. I decided to use velcro, just in case I ever want to update the photos. Who knows! I just knew that I did not want to permanently attach them. I used industrial strength Velcro. It worked really good, those frames are not going any where!
 Here is the "Before"of my staircase:

 I took the old frames down, and cut old wrapping paper the size of each new frame and taped it to the wall to determine my layout.
 I then attached OOK brand sawtooth hangers to the back of each frame, and the OOK photo hangers for the wall. I must saw these things are awesome! They went right in, and I didn't smash any fingers! I will not hang pictures with anything else, no more screws in the wall. They do not damage walls, and will hold almost anything, just buy the right size hooks!

 I wish these photos did this wall justice, I think I need a wide angle lens though and maybe take the pictures during the day, not that there is much light in the stairway, but it might be better.

Here are some better daytime shots!


 I am so happy with how this wall turned out! I have tons of great photos of Mike, the kids & even a few of myself, which is rare because I am usually the one taking the pictures! Now I have a great place to display them!


Sunday, July 17, 2011

Im Back!

I am not sure why, but I have not done a craft project in forever! But today I finally got out in the garage and dug out these old boards that I picked up from a junk pile on the side of the road last summer. My friend and I saw some really cute picture frames a few months back in Minneapolis and this very over priced little shop. Cute but very expensive! So today I finally started to make them. 
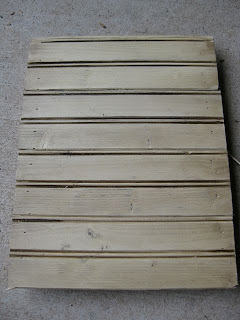
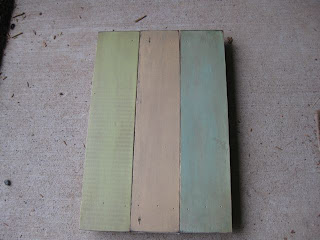
 I cut the boards to even lengths, 6 at 20 inches and 3 at 12. I also used some other scrap wood from the hubbs wood pile. I cut wood for 4 total frames. I sanded them a bit and painted each board with acrylic paint & let dry, which took all day since we are at 185% humidity here today!

 I also had a bunch of these old doors, I think they were from an old attic. I painted 3 of them to match the panels I just painted.
 Once the paint was dry I brushed them with wood stain the color was Jackobean, very dark, but I love how it looks. Once the stain was dry I then cut pieces for the back to hold them together and used a nail gun to attach.


 Now to make them into frames! I bought a bunch of different size frames at the dollar store, plus I had some old wood ones here at home. I primed and painted them all white.
 I then laid them out on the wood to see how to arrange them all.  Once I get the photos figured out, I will attach the frames and hang all of them in my hallway going up the stairs.

 I think this one is my favorite!


New wall photo collage coming soon!