
I have to tell you that I love this room, and it has be come a family room. My kids are in here with me all of the time. Its wonderful, I love having them in there doing homework, hanging out and helping mom!

I am so lucky to have a handy hubby who can make my vision a reality! He is so talented! He tells everyone that we added on to the house just so I could have this room!

This is my main work area. I just added the computer to my space an I love it!

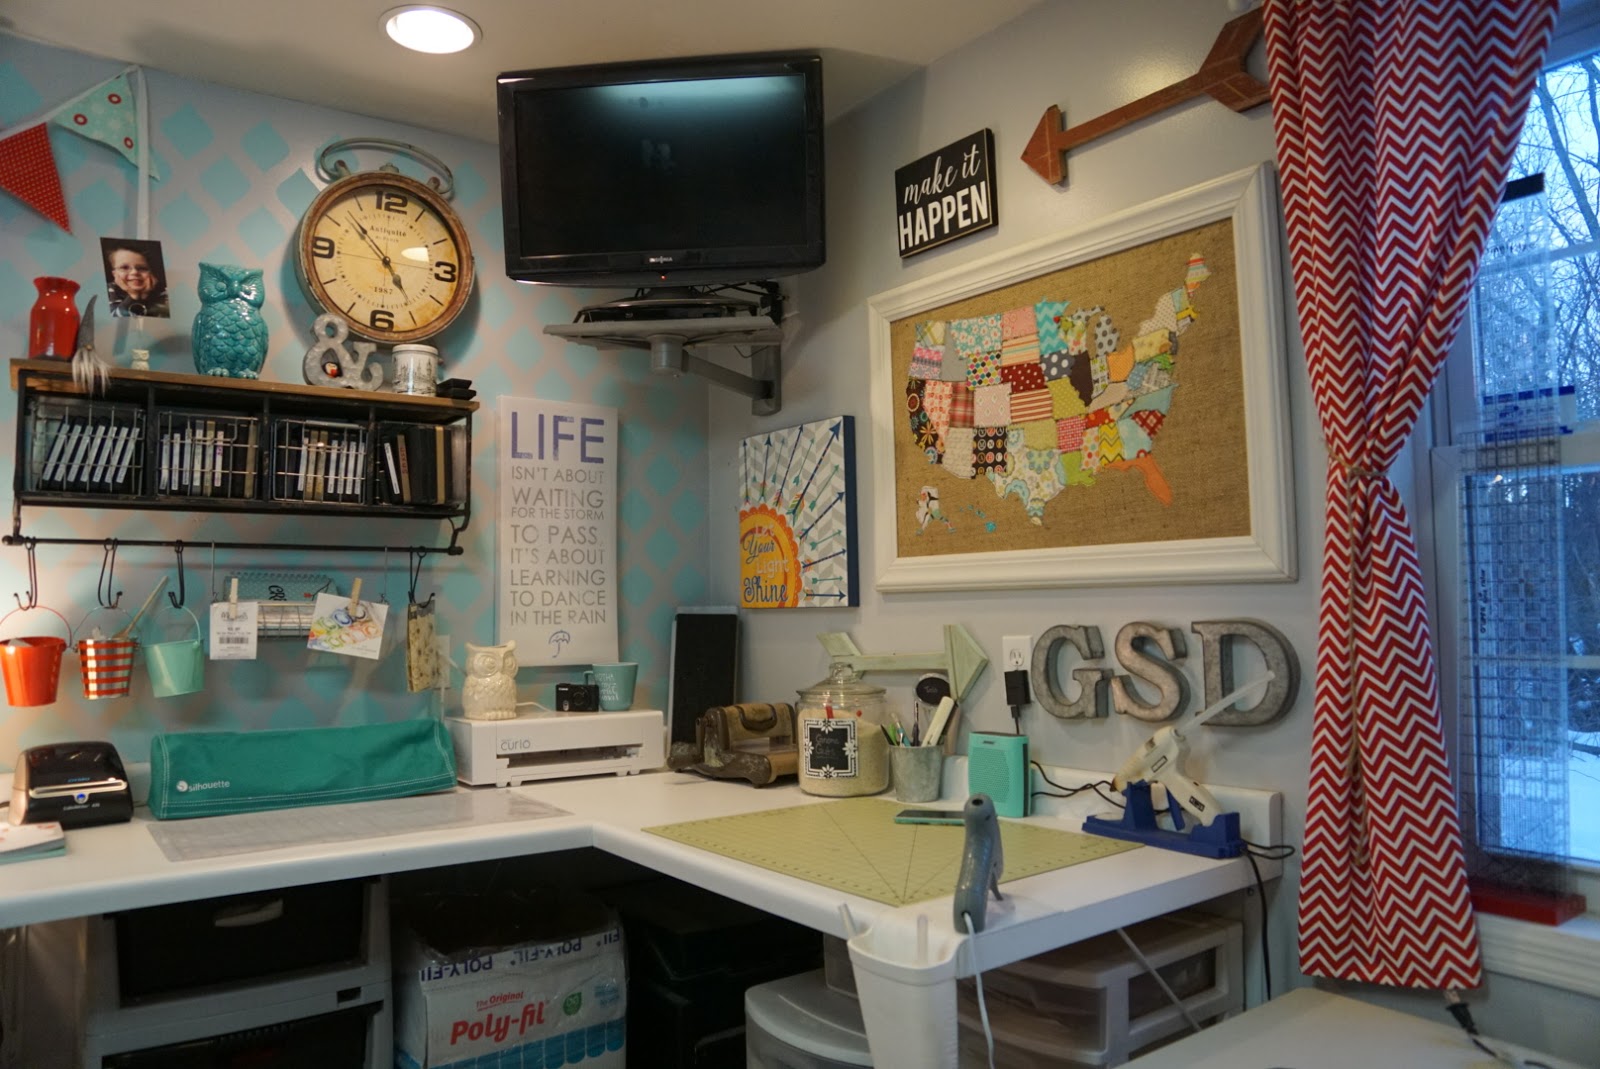
I call this silhouette central! Both my curio and cameo machines are here. I use them all the time!

Clear drawers are essential, I need to see whats there or it becomes a forgotten mess!

Fabric storage and an oversized ironing board! Its 2ft x 6 ft.


My island has a built in space for my sewing machines. The island itself is 4 ft wide by 6 ft long. Its a dream! I use fishers cutting mats, tape them together on the back to keep them all in place!

Yes, thats my boyfriend, Keith Urban. My little corner of heaven. Don't worry, the hubby is fully aware. :)

Here is a better shot of my ironing board. I used this adorable fabric by adornit to cover it. Below is all of my bins for fabric scraps. I organize them by color.

1 yard or larger cuts are organized on mini bolts that I make from foam core that is cut down to 7" x 10". I simply wrap and ion in place!

I have 3 main machines in my room. This is my Juki industrial. It is a straight stitch only machine, but its fast and very heavy duty!

Have you discovered pleasant home pin bowls yet? They are amazing and work great for pin and I use them for metal machine accessories!

This is the other side of my room. It is also shipping central! Each bin contains and order and its invoice. Once the order is complete I add the shipping label and my shipping manager (aka the hubs) packages everything and sends it out.

Everything we need is right here. Boxes, tape, labels etc! It works great!


More fabric mini bolts, I have a lot.

Got buttons?

Sort ribbon in clear jars, by color! I use so much more of what I have since I started this!


Office space is essential! I am a huge planner, so a place to sit and think through my week is a huge for me. Its how I GSD (get sh*t done!)

I don't know how i lived without my DYMO label maker. If you ship a lot, just buy this thing, its amazing!


A place for everything. Its a must! I can not work in a messy area, keeping everything clean and neat helps me to be more productive!


Use a mug rack to keep twine all organized& at your fingertips!

This bad guy is my industrial serger/overlock machine. Its crazy fast!

Have you discovered these amazing holders from holster brands? I use them for my glue guns and in the bathroom for my straight iron. They just stick to the counter, they are great!

Whew! I told you I had a lot of photos! Thanks for sticking with me!
Over the next few weeks I plan to share some of my GSD tips and tricks, so be sure to stop back!
Have an amazing week!
Missy


