

Here is the shopping list:
3/4" plywood cut to size
Metal wall anchors
Heavy duty shelf brackets
Batting
Old sheet or plain fabric
Fabric for cover
Elastic
The great news is you really only need a stapler and screw gun to do this!
Home Depot sells many sizes of plywood pre cut and if they don't have what you need they will cut it for you! I would use at least 3/4" thick wood.
You will also need heavy duty shelf brackets and metal screw anchors if you're not going into wall studs. Don't bother with the plastic ones!
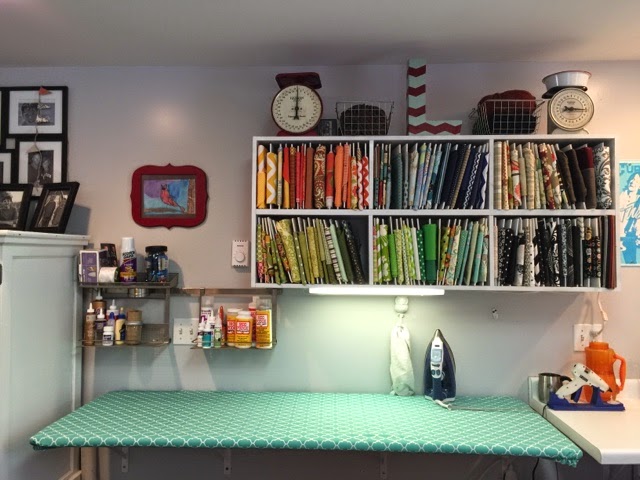
Measure and attach your brackets to the wall. We made sure to go right into studs!

My board is 6 ft long so we used 4 shelf brackets.
Next add the batting ( I used 2 layers) to the top & sides of the board. Simply lay it on top and fold over the sides. Secure it to the under side using a stapler.

Next I add a fabric layer. I used an old sheet. I also cut so it will cover the top and wrap around the edges.


Pick a fabric that you love but know, it will get dirty and eventually if it's like mine, ruined from glues and adhesives!
I cut mine approx 4" long and wider than the board.
I marked the corned with a fabric pen to use as a guide to see the elastic in place.

See elastic into all 4 corners and it's done!!


Happy sewing!
No comments:
Post a Comment